Affine Transforms

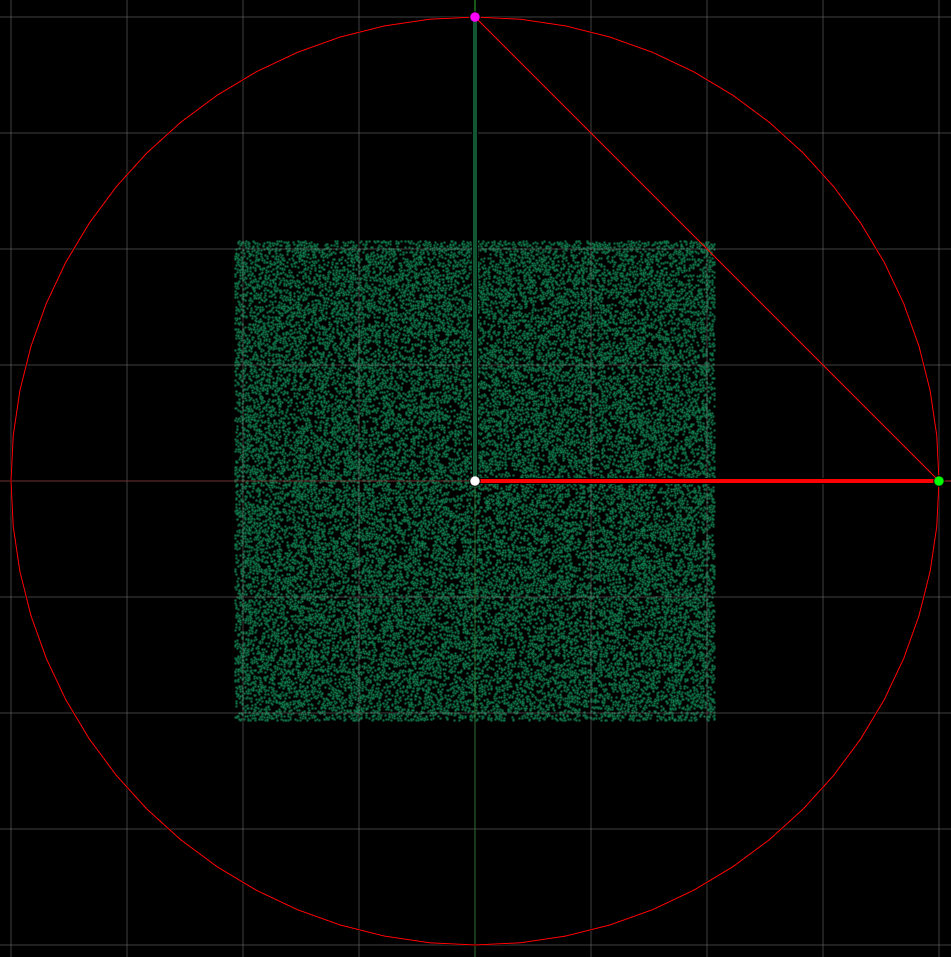
Affine transforms are shown as circles with two axes inside of them in the main rendering area. The three points on the circle represent the 3 coordinates that make up the 6 numbers contained in an affine transform.
Given a default affine, the center point represents the translation value, or O. The point on the right is X and is drawn in green, the top point is Y and is drawn in purple.
The colors used to draw the lines of the circle have special meanings which are merely identifiers and do not affect the image.
The color of the perimeter matches the color square in the xform combo box.
The X axis color of pre-affines will match the perimeter color. For post affines, it will be greenish and drawn as dashed lines.
The Y axis is drawn using the color in the palette at the color index of the xform.
Selected affines are drawn with a circle around them, and hovered affines are drawn with a transparent disc.
While affine values can be manually edited on the Affine tab, most users will prefer to edit them by dragging with the mouse.
The effect that mouse dragging has on the affines is different depending on which point is dragged, and which keys are pressed while dragging. It is also affected by the selection of local vs. world pivot in the Affine tab.
No Keys
X & Y: Rotate.
Center: Free movement.
Shift
X & Y: Scale only and optionally rotate based on the Scale and Rotate with Shift option in the Options dialog.
Local Pivot
Center: Rotate around 0,0, while keeping the local orientation fixed.
World Pivot
Center: Rotate around 0,0, also rotating the local orientation.
Control
X &Y: Rotate and snap to grid.
Center: Free movement with snap to grid.
Alt
X & Y: Rotate axis around transform center.
Center: No effect.
Shift + Alt
Local Pivot
X & Y: Free movement.
Center: Same as shift.
World Pivot
X & Y: Rotate around 0,0.
Center: Rotate around 0,0, while also rotating the local orientation.